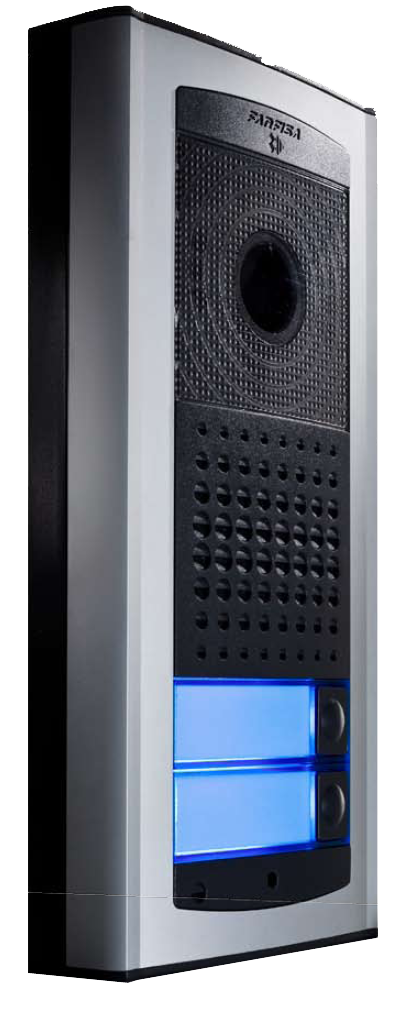
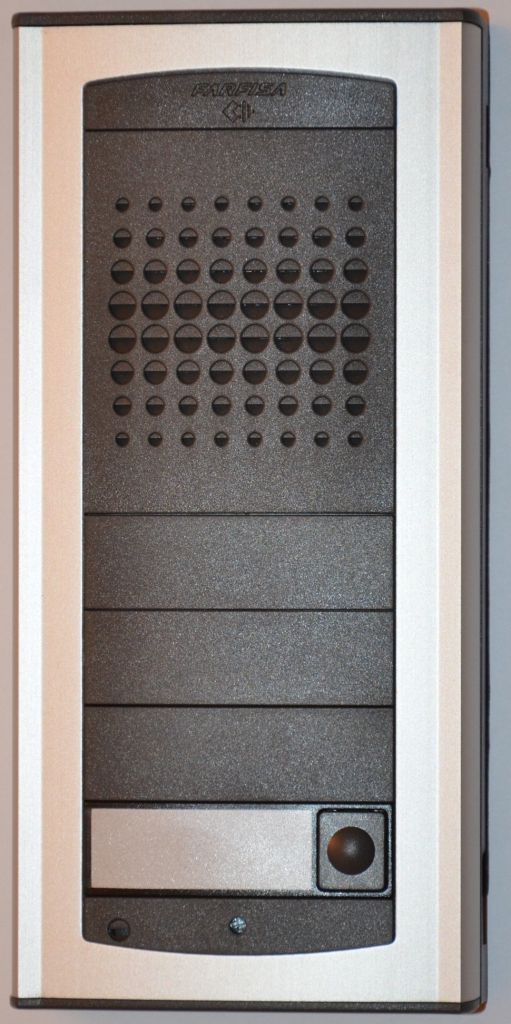
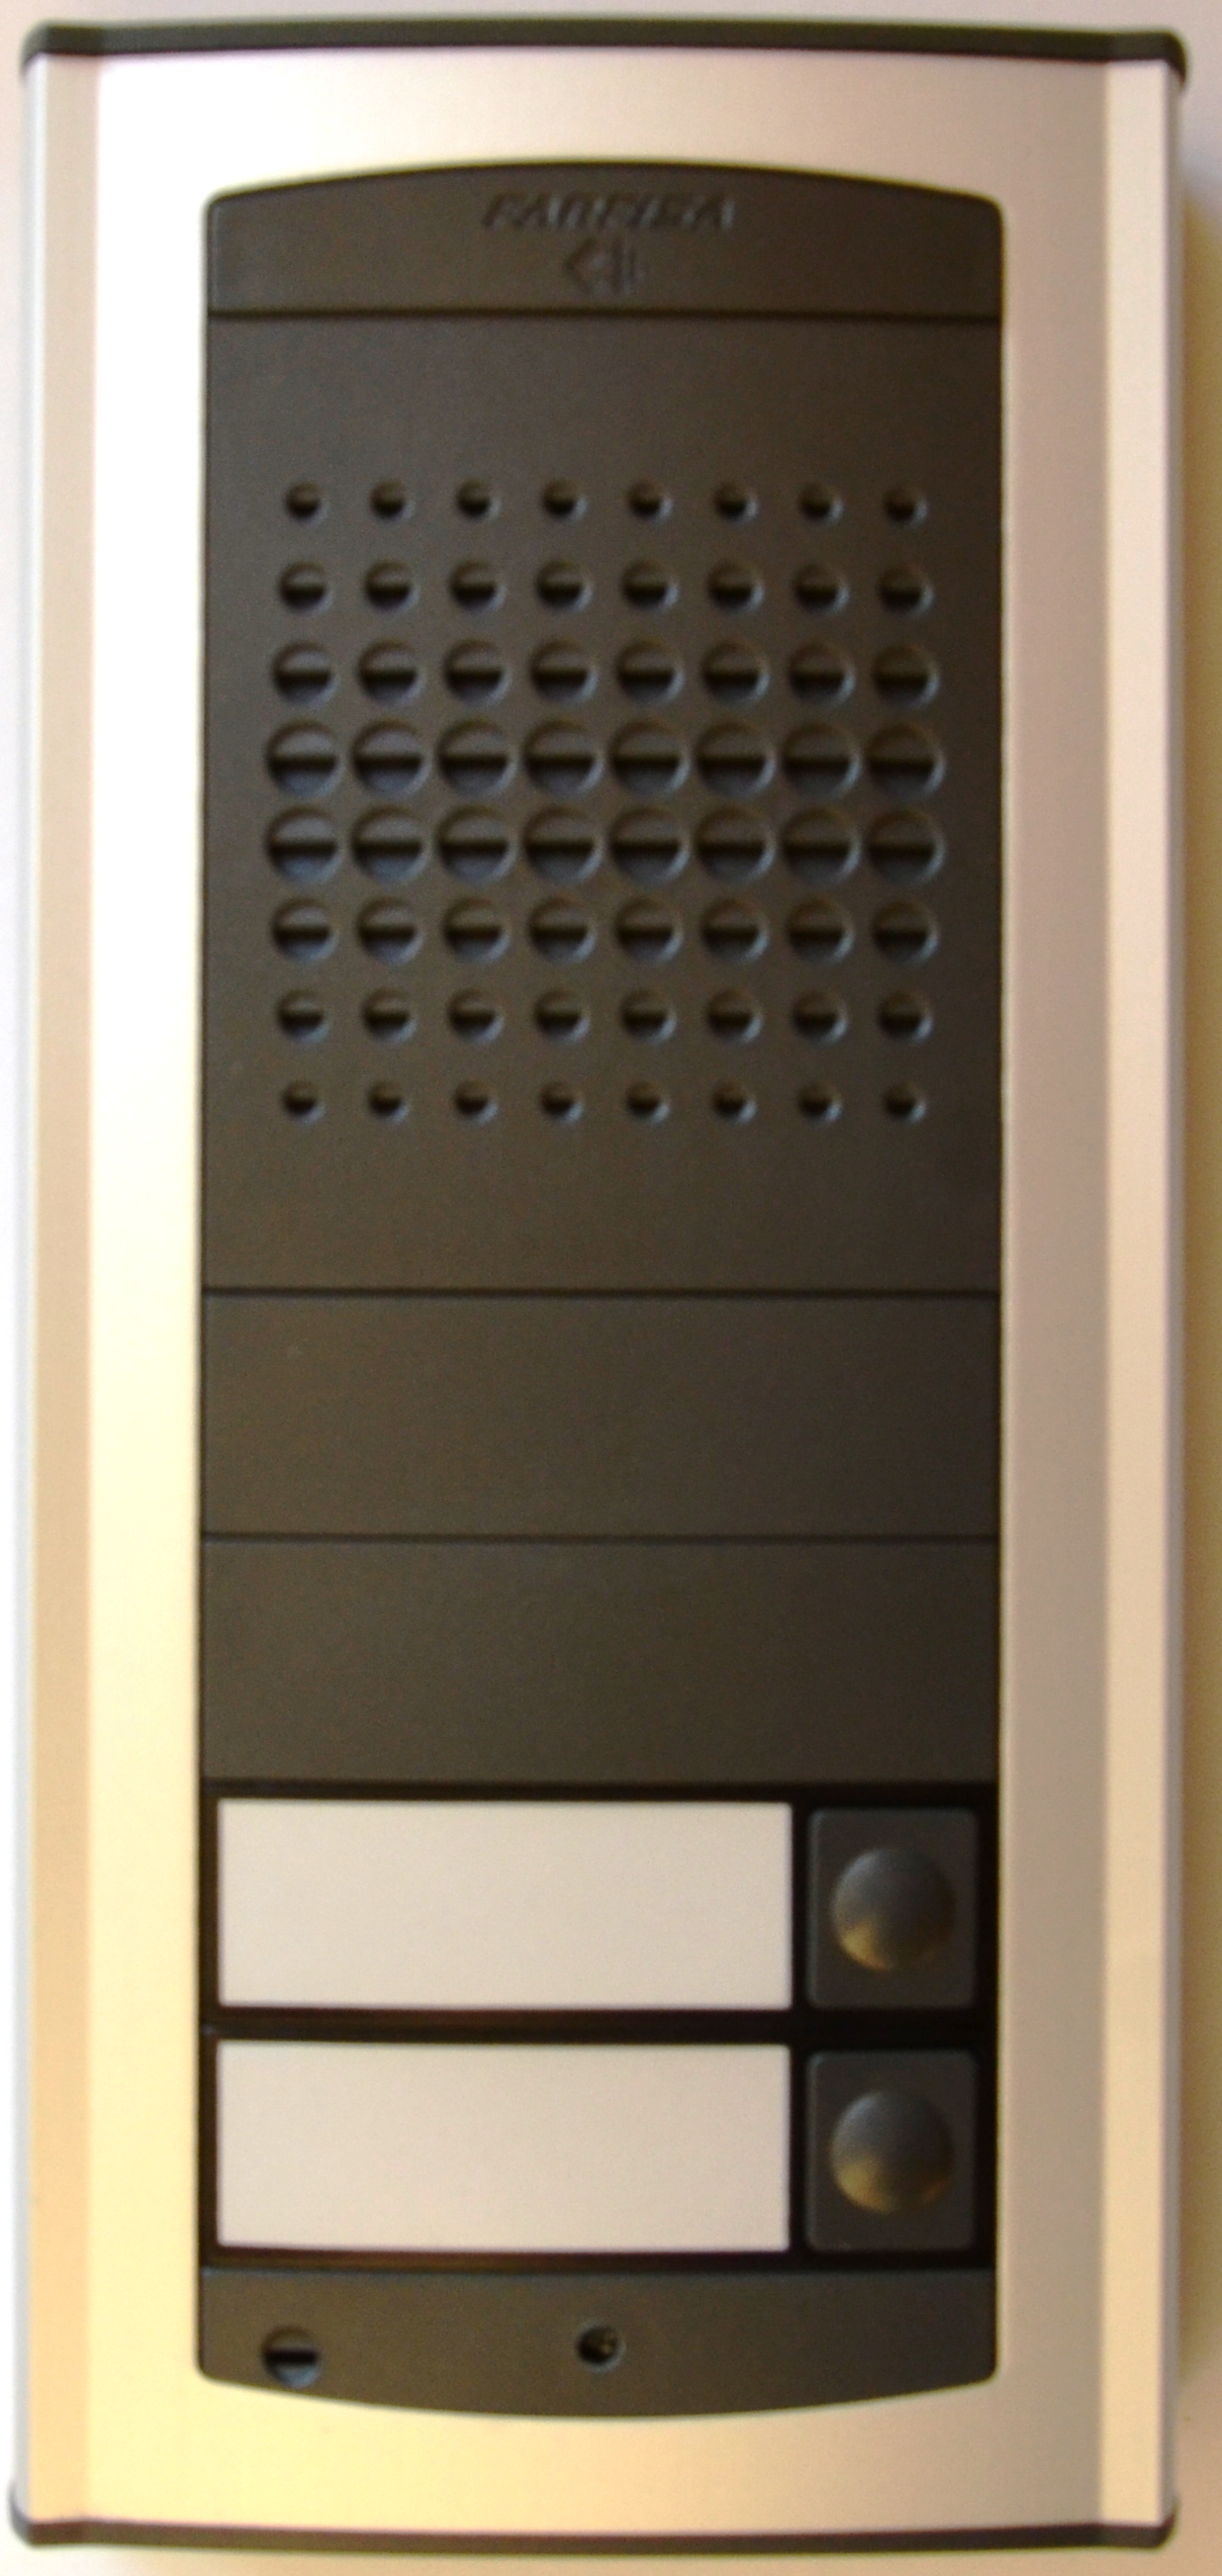
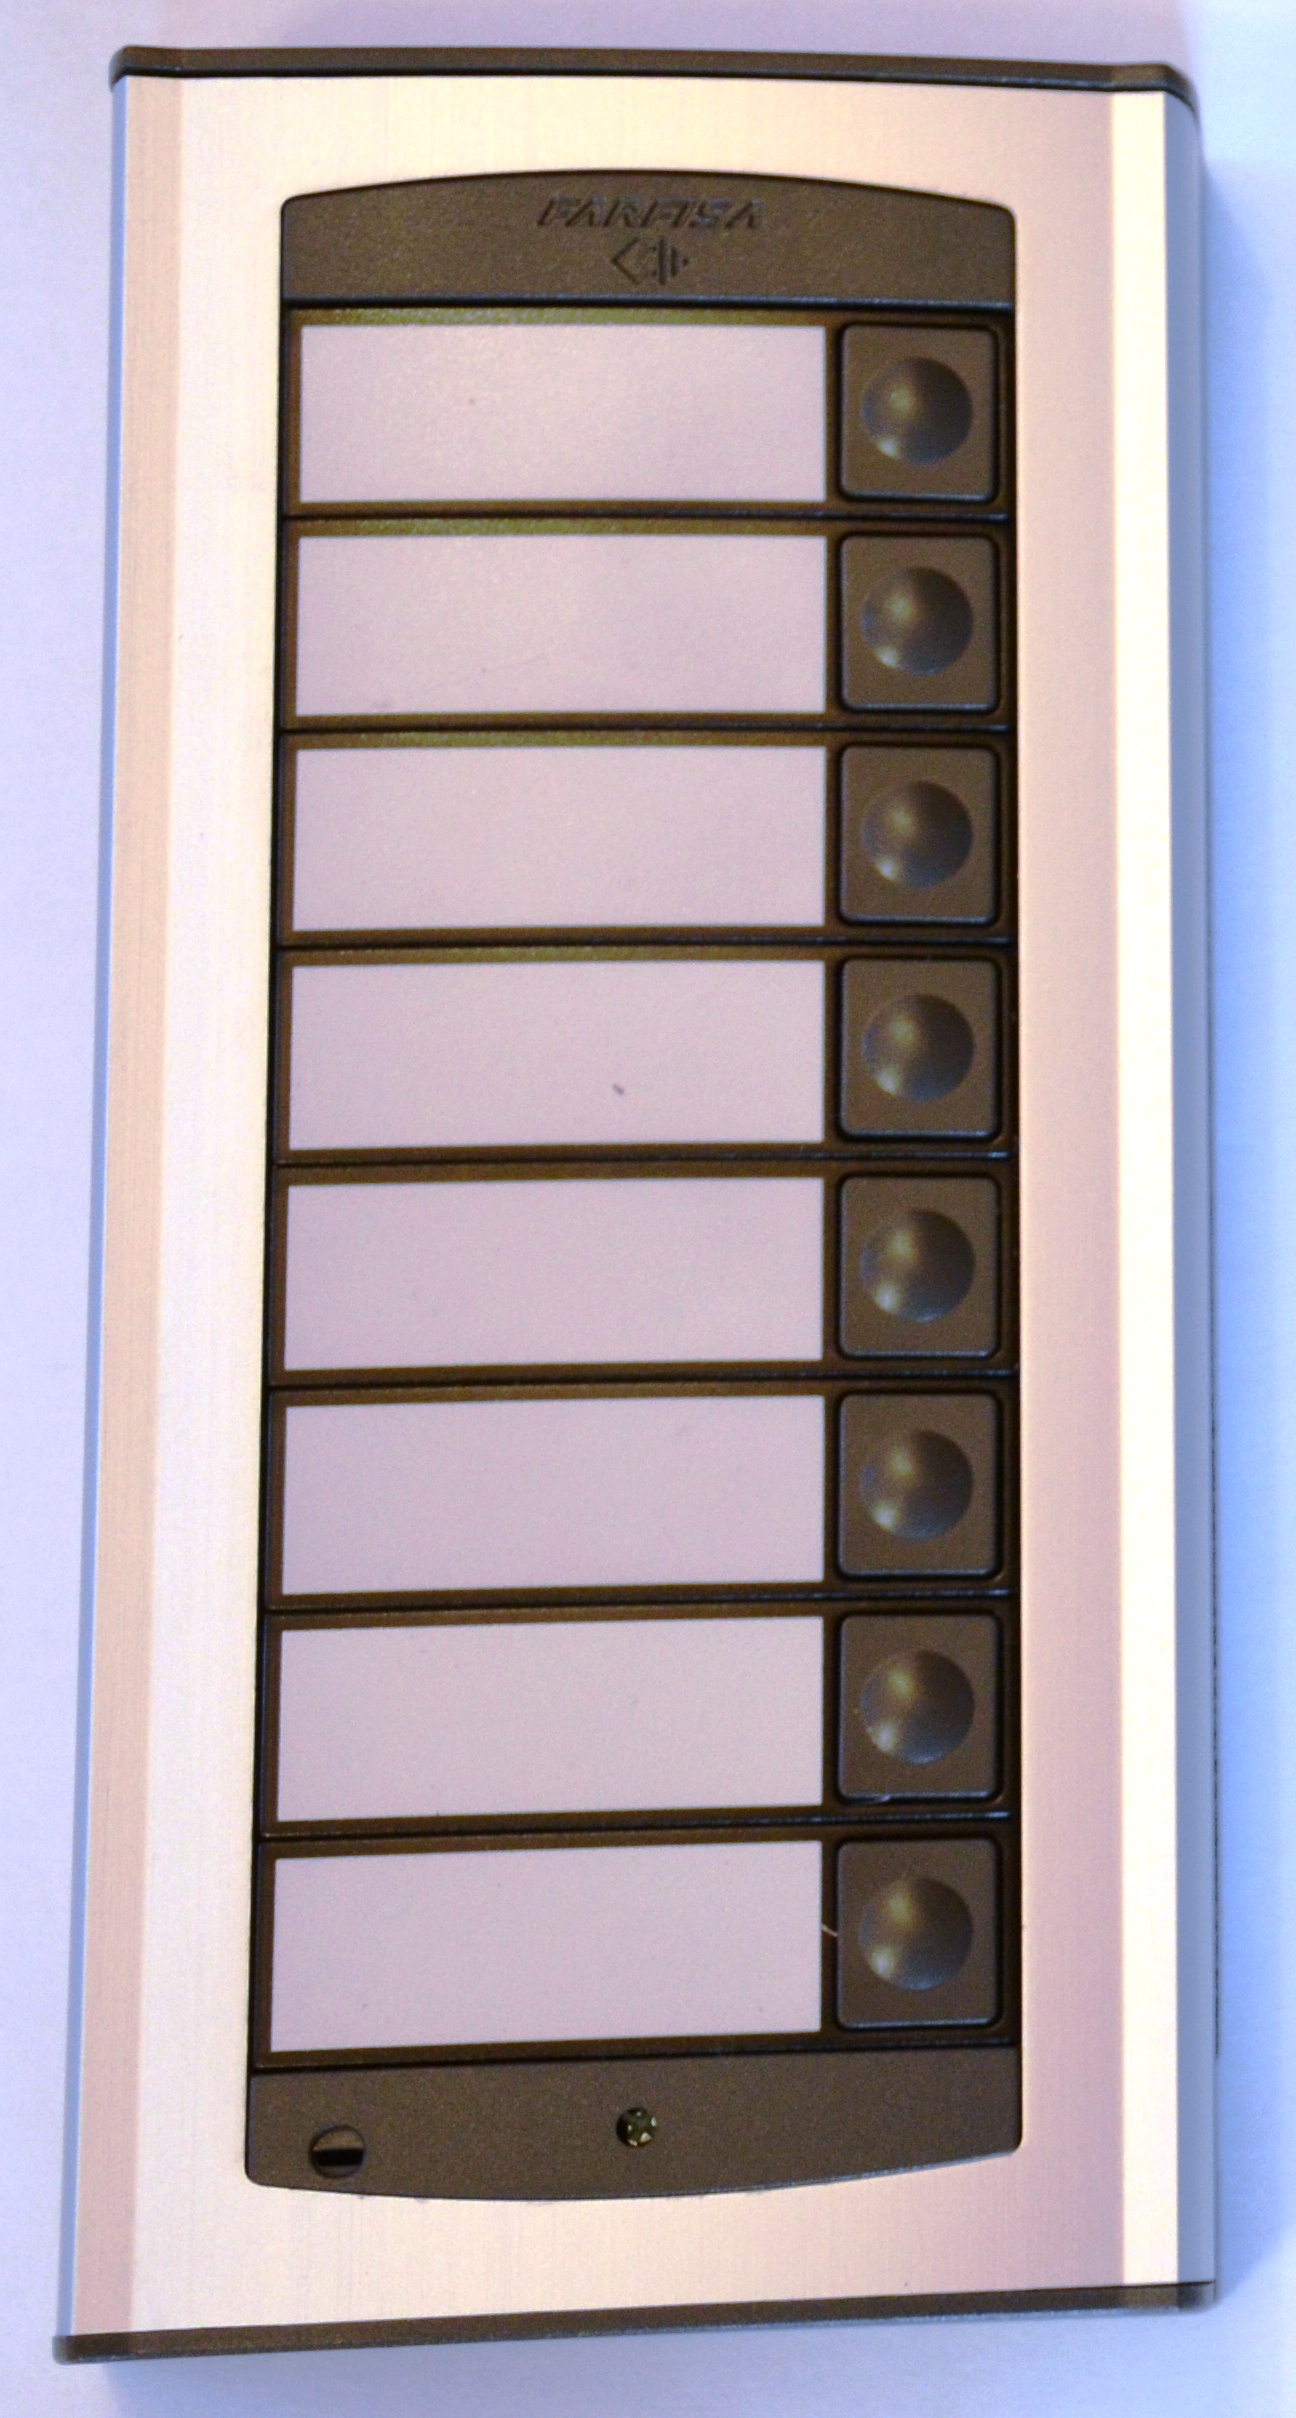
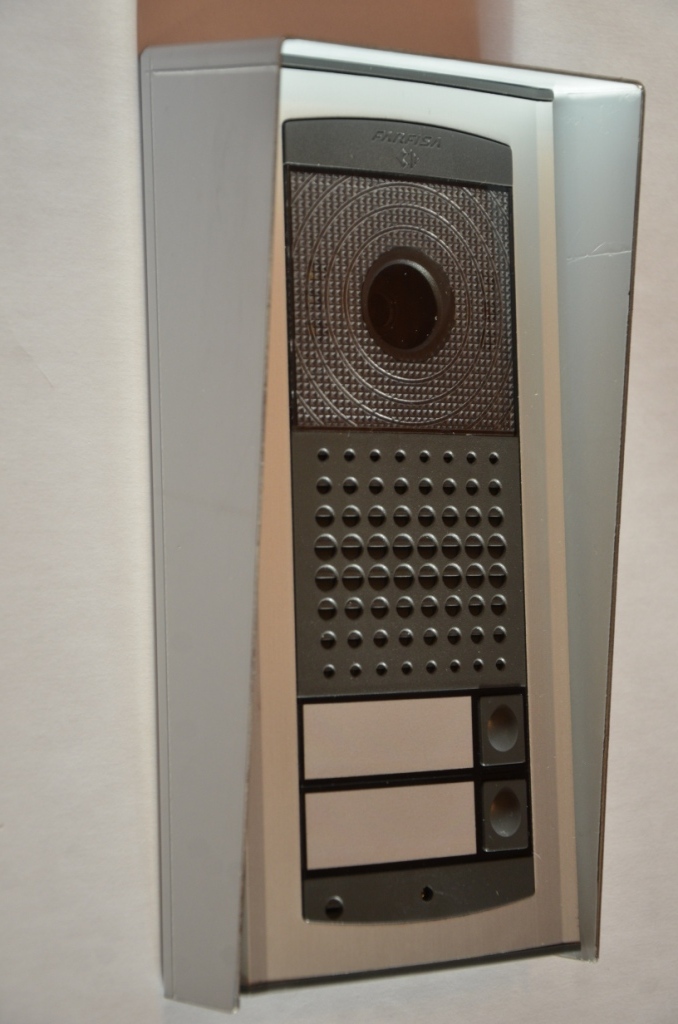
A-Bell intercom
analog door phone
- robust door entry station which can be installed both outdoors and indoors
- system capacity from 1 to 98 buttons by using Bell-8 expansion module
- the front plate is made in anodized extruded aluminum and ABS plastic
- name holders are backlit in original blue color for easy identification even in poor lighting conditions
- 30mm thin profile
- surface mounted therefore extremely easy to install
- optional flush mounting installation box including rain hood
- IP44 rating
- optional analog color camera built-in with infra-LEDs illumination
- connection to any analog PSTN line or analog extension line of PBX
- options for a single pushbutton which places a call to one number/group or two pushbuttons which can different numbers/groups
- pushbuttons with a memory for 2 different numbers/groups
- automatic call forwarding to the second stored number (e.g. GSM number) when the first dialed number (e.g. extension line inside the building) is busy or not answering
- easy to program - remote programming via analog telephone by DTMF tones or user-friendly programming via USB on PC
- easy to use - handsfree communication powered by the telephone line only
- pushbuttons can be used as a code lock with access passwords
- Real-Time Clock (RTC) - automatic day/night switching or manually by code
- one or two internal relays controlled by DTMF tones to control electric door locks or lights
Step-by-step FW upgrade process:
For a FW upgrade, you need to use A-Bell pc programming software, USB driver, item No. 212124 - the PC USB programming cable (HW option), see the downloads folder.
1. Disconnect the A-Bell doorphone from the analog line
2. Connect the 212124 PC USB programming cable to A-VarioBell and your PC
2. Download, unzip and install A-Bell pc programming software (A-Bell setup) and USB driver to your PC - see links above
3. Start the "A-Bell setup" program
4. In the menu Option - Firmware upgrade - choose the file with FW (an unzipped file *.HEX)
6. Connect the analog line to the A-Bell doorphone
7. Start the FW upgrade
8. In about 10 minutes the FW upgrade is finished. You must see a message "upgrade is successful" and hear the reset system audio tone as a confirmation.
9. In case any error happens during the FW upgrade, disconnect the doorphone from the line, restart the VarioBell setup program and repeat steps 4.-8.